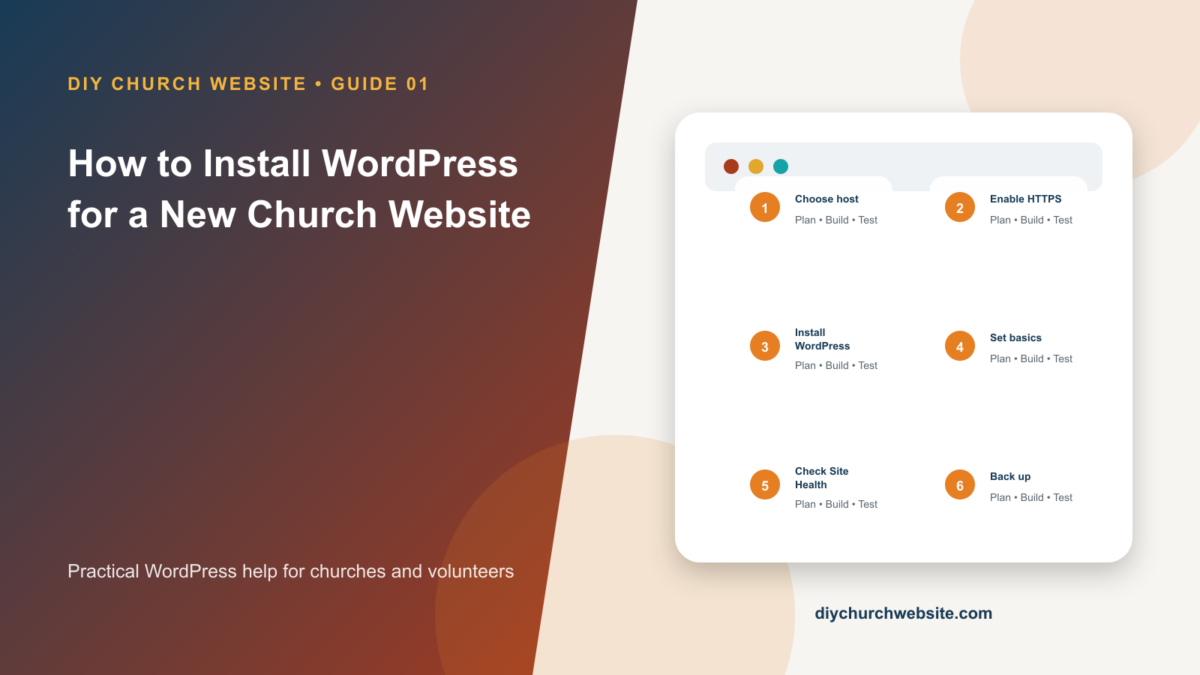
A careful beginner-friendly path from hosting account to a secure, working WordPress dashboard.
What you will accomplish: You will finish with WordPress installed over HTTPS, a named administrator account, sensible permalinks, and a short list of launch tasks.
Before you begin
Work on a staging site when possible. Make a current database-and-files backup, record the installed versions, and identify the person who can approve production changes. Menu names can move slightly between plugin releases, so use the linked official documentation when an interface differs.
Choose the easier installation route
Most church volunteers should use the host's managed WordPress installer. It creates the database, writes the configuration file, and applies the correct server path. Manual installation is useful when a host does not provide an installer or when an experienced administrator needs complete control.
Before buying hosting, confirm that it supports current WordPress recommendations, HTTPS, backups, a staging site, modern PHP, and either MySQL or MariaDB. A low introductory price is not useful if restoring a failed site requires a long support ticket.
- Use the primary domain, not a temporary URL, when possible.
- Turn on the free SSL certificate before entering passwords.
- Record who owns the domain, hosting account, and recovery email.
Run the installer safely
Open the host's WordPress installer, choose the domain, leave the directory field empty for a main website, and select HTTPS. Give the site a temporary working title; it can be changed later.
Create a unique administrator username instead of admin. Use a password manager-generated password and a church-controlled email address. Search-engine visibility can remain discouraged while the site is being built, but it must be enabled before launch.
- Do not reuse a personal password.
- Do not email database credentials.
- Do not install a bundle of promotional plugins offered by the host unless the church has chosen them.
Complete the first dashboard settings
Sign in at /wp-admin/ and visit Settings > General. Confirm the site title, administrative email, timezone, date format, and week start. Then open Settings > Permalinks and choose a readable structure such as Post name.
Visit Tools > Site Health and resolve critical issues before adding design work. Delete unused sample content, but keep one default WordPress theme available for troubleshooting.
- Confirm outgoing email reaches the administrator.
- Create separate accounts for each administrator.
- Enable multi-factor authentication through the chosen security system.
Prepare for DIY Church
Install the DIY Church Wireframe parent theme before installing a DIY Church child theme. The parent supplies shared templates and controls; the child supplies the finished visual direction. Keep both installed and update the parent without editing its files.
Build on staging, import demo content only if it helps, replace every demo name and address, and make a backup before moving the site into production.
How this fits the DIY Church ecosystem
DIY Church Wireframe and its child themes handle presentation. Keep operational records in their appropriate plugins so sermons, events, forms, donations, forum topics, SEO settings, and analytics remain available if the visual design changes. Clear page, server, and CDN caches after configuration changes, then verify the result while signed out.
Completion checklist
- ☐ HTTPS works without a browser warning
- ☐ Administrator username is not admin
- ☐ Church owns the account recovery email
- ☐ Timezone and permalinks are correct
- ☐ Site Health has no unexplained critical errors
- ☐ A backup exists before theme installation
Common mistakes to avoid
- Installing WordPress in /wordpress/ by accident, which changes the public URL.
- Leaving Discourage search engines enabled after launch.
- Giving several people one shared administrator login.
Keep a change record
Record the date, administrator, versions, settings changed, pages tested, and rollback location. Do not put passwords, API keys, recovery codes, donor information, private member information, or connector credentials in the record.
Official references
Watch a guided walkthrough
This carefully selected walkthrough from freeCodeCamp.org and Beau Carnes complements the written steps above. The written guide remains the primary reference because third-party interfaces and videos can change.
Watch “How to Create a Website – WordPress Tutorial for Beginners 2025” on YouTube
Interfaces and service terms can change. This guide was prepared July 14, 2026; verify current requirements and privacy terms before production use.