Set up church-owned Google properties, connect Site Kit, verify data collection, and respect visitor privacy.
What you will accomplish: You will connect the website to Search Console and Analytics without creating duplicate tags or leaving ownership in a volunteer's personal account.
Before you begin
Work on a staging site when possible. Make a current database-and-files backup, record the installed versions, and identify the person who can approve production changes. Menu names can move slightly between plugin releases, so use the linked official documentation when an interface differs.
Establish ownership first
Use a church-controlled Google account as the long-term owner of Analytics and Search Console. Give staff and vendors individual access. Do not make a volunteer's personal account the only owner of the church's measurement history.
Write down the production domain, Analytics property, Search Console property, time zone, and data-retention decisions.
Install Site Kit on production
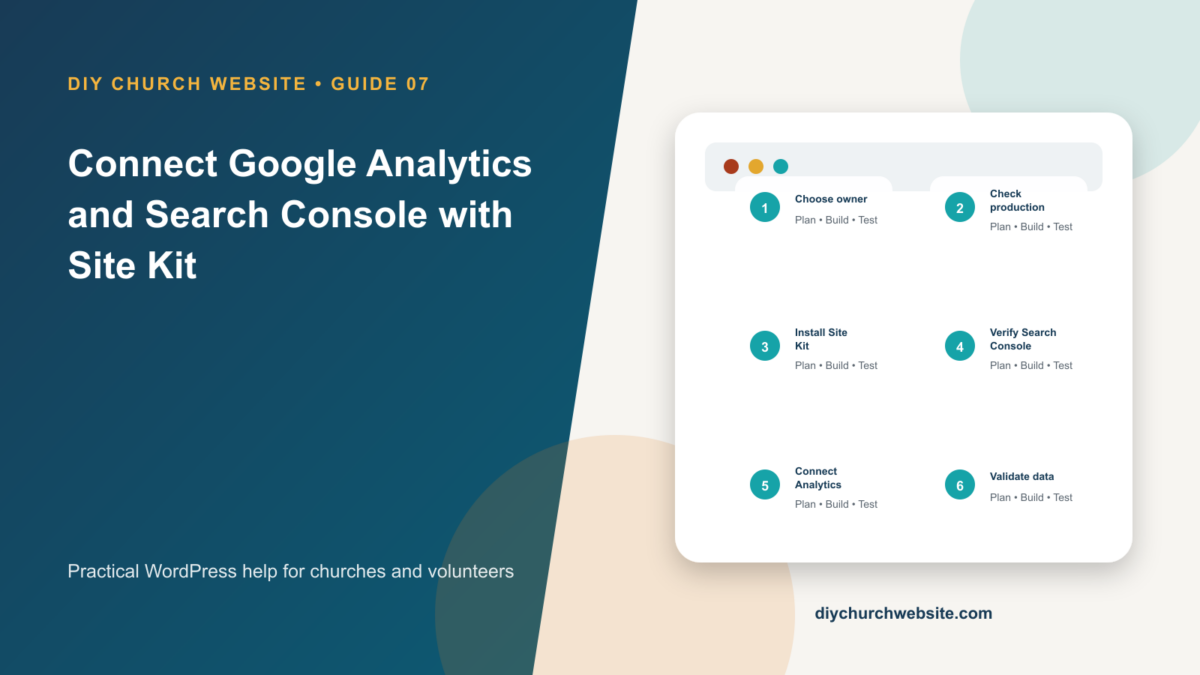
Site Kit expects a publicly accessible production site with the REST API working. Finish domain migration, remove private staging restrictions, and check Tools > Site Health before setup.
Install Site Kit by Google, open Site Kit > Dashboard, sign in with the designated Google account, verify site ownership, and connect Search Console. Analytics can be connected during setup or afterward.
Avoid duplicate measurement
If Analytics was previously inserted by a theme, Tag Manager, another plugin, or a host integration, decide which system will place the tag. Two copies can produce confusing sessions and events.
Use a browser tag inspector and Analytics real-time reporting to confirm a single page view. Exclude staff traffic where appropriate and document any custom events.
Add privacy and consent deliberately
Analytics choices can have privacy and consent consequences that vary by location and configuration. Inventory the data, update the privacy notice, configure consent behavior, and obtain qualified advice when required.
Share Site Kit's read-only dashboard with appropriate roles instead of granting administrator access just to view reports. Expect reporting delays; use trends over time rather than reacting to one day.
How this fits the DIY Church ecosystem
DIY Church Wireframe and its child themes handle presentation. Keep operational records in their appropriate plugins so sermons, events, forms, donations, forum topics, SEO settings, and analytics remain available if the visual design changes. Clear page, server, and CDN caches after configuration changes, then verify the result while signed out.
Completion checklist
- ☐ Church owns the Google properties
- ☐ Production URL is correct
- ☐ REST API passes Site Health
- ☐ Only one Analytics tag loads
- ☐ Privacy notice reflects measurement
- ☐ Search Console sitemap is submitted
Common mistakes to avoid
- Connecting a staging URL as the permanent property.
- Letting an outside developer be the sole owner.
- Installing Site Kit on top of an unknown existing Analytics tag.
Keep a change record
Record the date, administrator, versions, settings changed, pages tested, and rollback location. Do not put passwords, API keys, recovery codes, donor information, private member information, or connector credentials in the record.
Official references
Watch a guided walkthrough
This carefully selected walkthrough from Google for Creators complements the written steps above. The written guide remains the primary reference because third-party interfaces and videos can change.
Watch “WordPress Analytics for Beginners: A Google Site Kit Tutorial” on YouTube
Interfaces and service terms can change. This guide was prepared July 14, 2026; verify current requirements and privacy terms before production use.